Authentication
There are two methods for authenticating: personal access tokens for testing and controlling your own account via the API, and OAuth for building integrations where you are operating on behalf of another user.
Personal Access Tokens
Personal access tokens are managed via the SavvyCal interface. To create one, navigate to your Developer Settings:
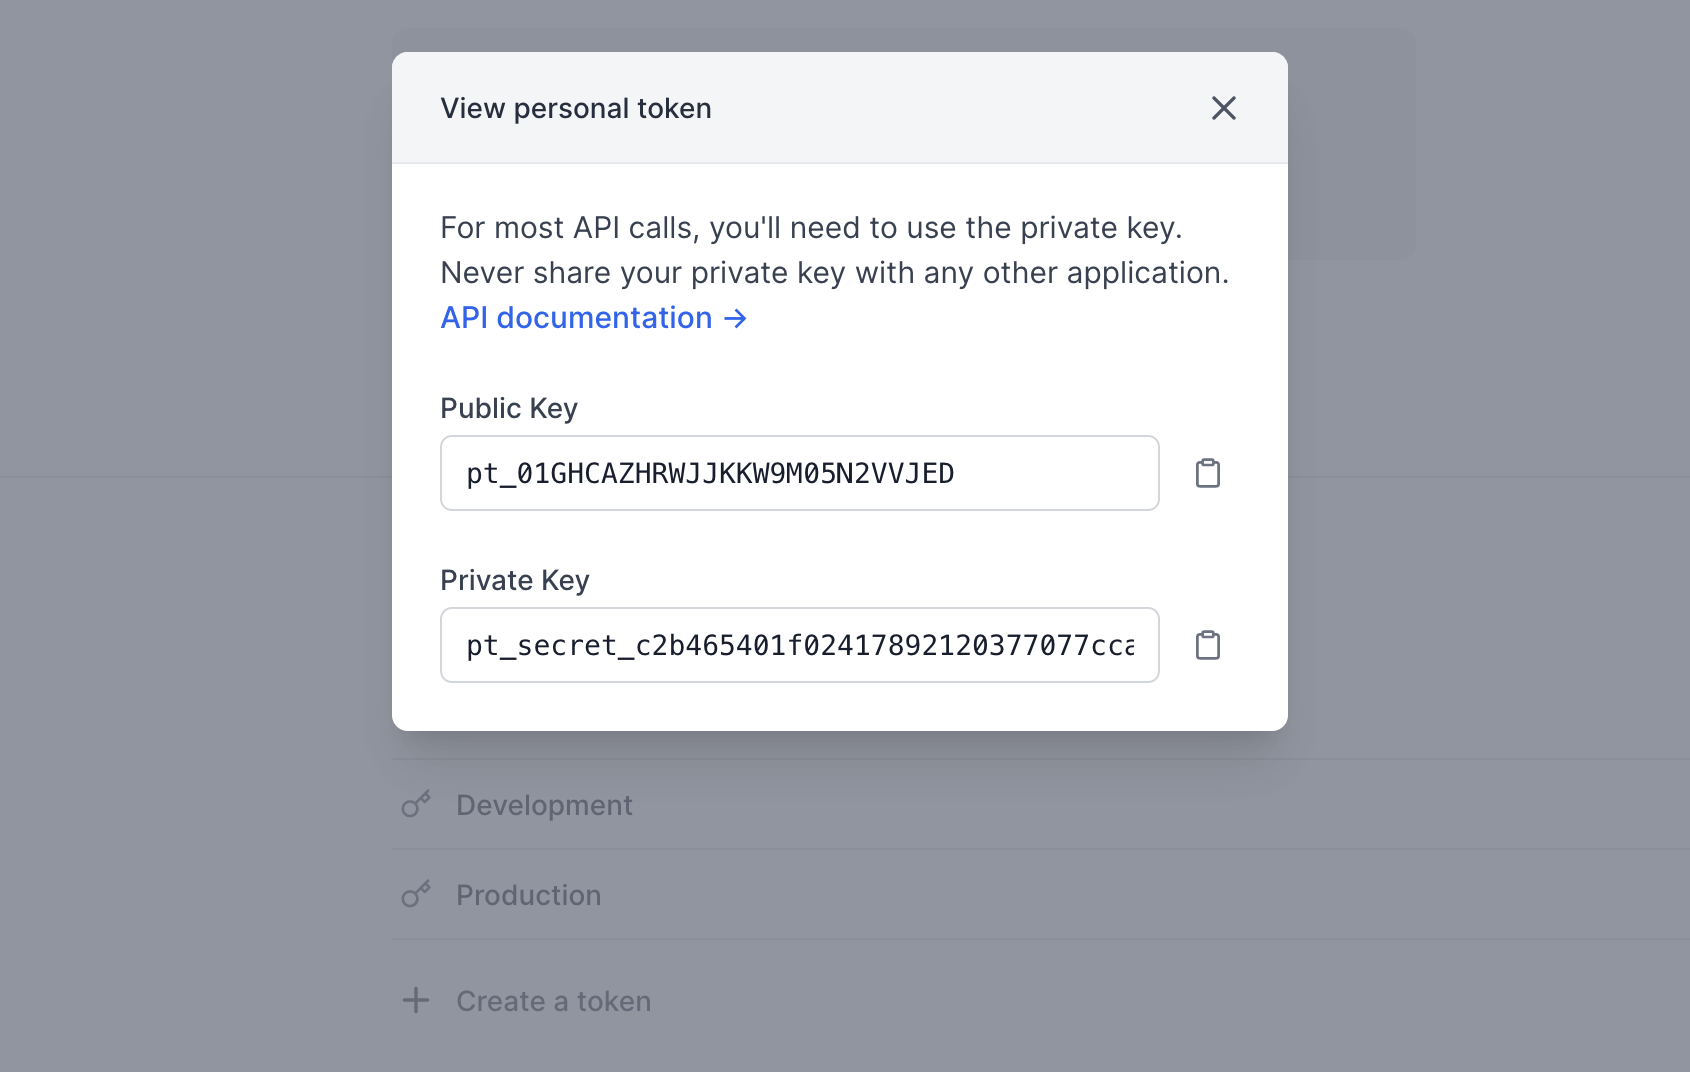
Click “Create a token” and give your token a name (it’s best to indicate how you plan to use the token). Then, use the Authorization header and the Bearer realm to authenticate your requests with your Private Key:
# Example cURL request
curl -H 'Authorization: Bearer pt_secret_XXXXXXXXXXX' https://api.savvycal.com/v1/me
OAuth
We follow the OAuth 2 specification for obtaining credentials. Access tokens are short-lived (2 hours) and can be refreshed using the long-lived refresh token issued during the authorization flow.
Register your application
Reach out to support by clicking Contact from the knowledge base or the Help button in the app sidebar and let us know you’d like to register an OAuth application. You’ll need to provide the following information:
- Name: the name of your application
- Redirect URI: the callback URL to redirect to with a
codeafter the authorization flow (e.g. https://myapp.com/auth/savvycal/callback)
Once we create your app, you’ll receive a client ID and client secret to use in the OAuth flow.
Requesting access to an account
It’s generally a good idea to use an OAuth library to handle this process. There are open source libraries available in most common languages. If you’re implementing this flow manually (or just want to understand what going on behind the scenes in one of these libraries), continue on!
To initiate the OAuth flow, send the user to the authorize endpoint and replace <your-client-id> and <your-redirect-uri> respectively:
https://savvycal.com/oauth/authorize?response_type=code&client_id=<your-client-id>&redirect_uri=<your-redirect-uri>
The user will be presented with OAuth screen like this:

When the user accepts, they’ll be redirected to your redirect URI with a code parameter:
https://myapp.com/callback?code=<auth-code>
The auth code in the query string can then be exchanged for an access token. Make a POST request to https://savvycal.com/oauth/token with the following body parameters (form-encoded):
| Parameter | Value |
|---|---|
code |
The auth code from the query string. |
client_id |
The client ID from your registered app. |
client_secret |
The client secret from your registered app. |
grant_type |
authorization_code |
redirect_uri |
The redirect URI from your registered app. |
POST /oauth/token HTTP/1.1
Host: https://savvycal.com
Content-Type: application/x-www-form-urlencoded
Accept: application/json

code=xxxxxxxxx
&client_id=xxxxxxxxx
&client_secret=xxxxxxxxx
&grant_type=authorization_code
&redirect_uri=https://myapp.com/callback
The successful response will have a JSON body with the following properties:
| Property | Description |
|---|---|
access_token |
A Bearer token to use in the Authorization header of API requests. |
refresh_token |
A refresh token to use to obtain a new access token. You should store this in your database in you need long-term access to the API. |
expires_in |
The number of seconds the access_token will remain valid (currently 7200). |
token_type |
bearer |
To refresh your access token, send a POST request to https://savvycal.com/oauth/token with the following body parameters (form-encoded):
| Parameter | Value |
|---|---|
refresh_token |
The refresh token originally issued in the authorization flow. |
grant_type |
refresh_token |
client_id |
The client ID from your registered app . |
client_secret |
The client secret from your registered app. |
POST /oauth/token HTTP/1.1
Host: https://savvycal.com
Content-Type: application/x-www-form-urlencoded
Accept: application/json

refresh_token=xxxxxxxxx
&client_id=xxxxxxxxx
&client_secret=xxxxxxxxx
&grant_type=refresh_token
The response will be the same shape as the original token response.
Authenticating requests
To authenticate your API requests, include the your access token in your Authorization header, prefexed with Bearer :
GET /me HTTP/1.1
Host: https://api.savvycal.com
Accept: application/json
Authorization: Bearer xxxxxxxxxxxxxxxxxx