How To Schedule A Webex Meeting

Did you know that Webex has close to 60 million users?
Founded in 1995 and later acquired by Cisco in 2007, Webex was one of the original teleconferencing apps.
These days, if you work remotely, you’ve probably participated in more than your fair share of virtual meetings through Webex, Google Meet, and/or Zoom meetings.
In this post, we’re sharing some tips to help you save time scheduling Webex meetings.
Which is better: Zoom or Webex
Zoom and Webex have a lot of the same features, from hosting voice and video calls to group chat and breakout rooms.
However, there are some key differences.
For instance, Webex UX is less intuitive than Zoom. Everything from signing into a call to navigating around the screen can take some getting used to.
In addition, both Webex and Zoom have free plans. However, while Zoom imposes a 40-minute meeting limit for free users, there is no meeting limit for Webex free users.
Not to mention, you can automatically create a designated Zoom meeting room when someone books a call through one of your SavvyCal scheduling links. If you want to do the same thing for a Webex call, you’d have to use Webhooks or our official Zapier integration.
How to schedule a Webex meeting from your browser
Scheduling a meeting on Webex is similar to scheduling calls on Zoom, Google Meet, or Microsoft Teams. Here is how.
Once you are signed in to your Webex account, you’ll click on the Schedule button, which will open a new page.
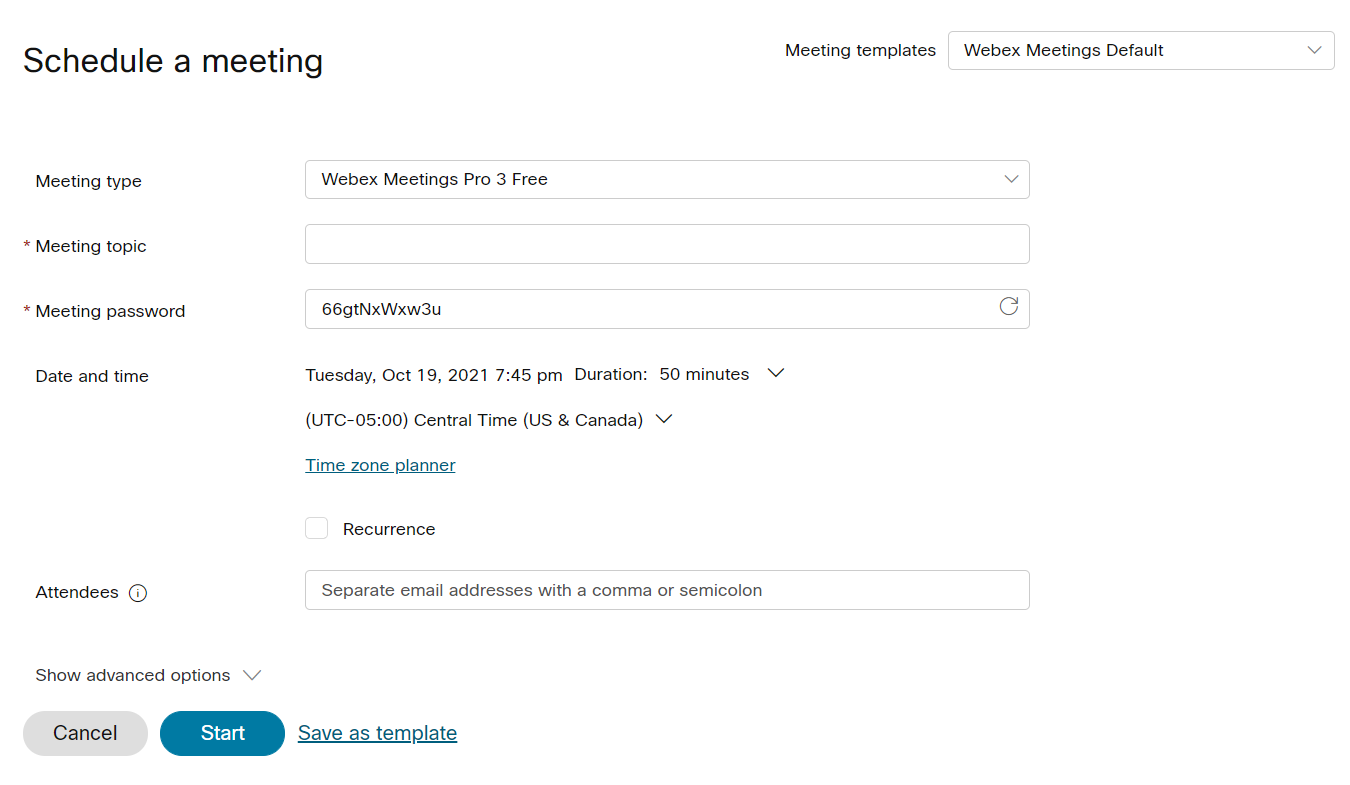
Note: If you have a Meeting Template, you’ll want to select the template from the Meeting Template drop-down option in the top right.
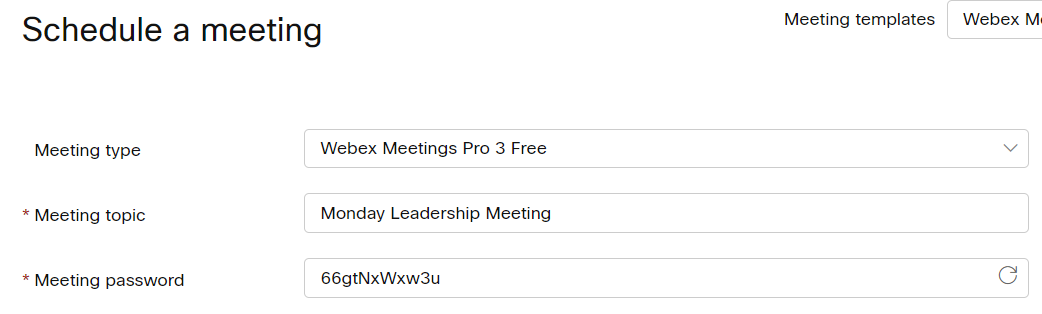
Next, add your Meeting topic.
Then, you can choose to either keep the auto-generated meeting password from Webex or set up your own password.
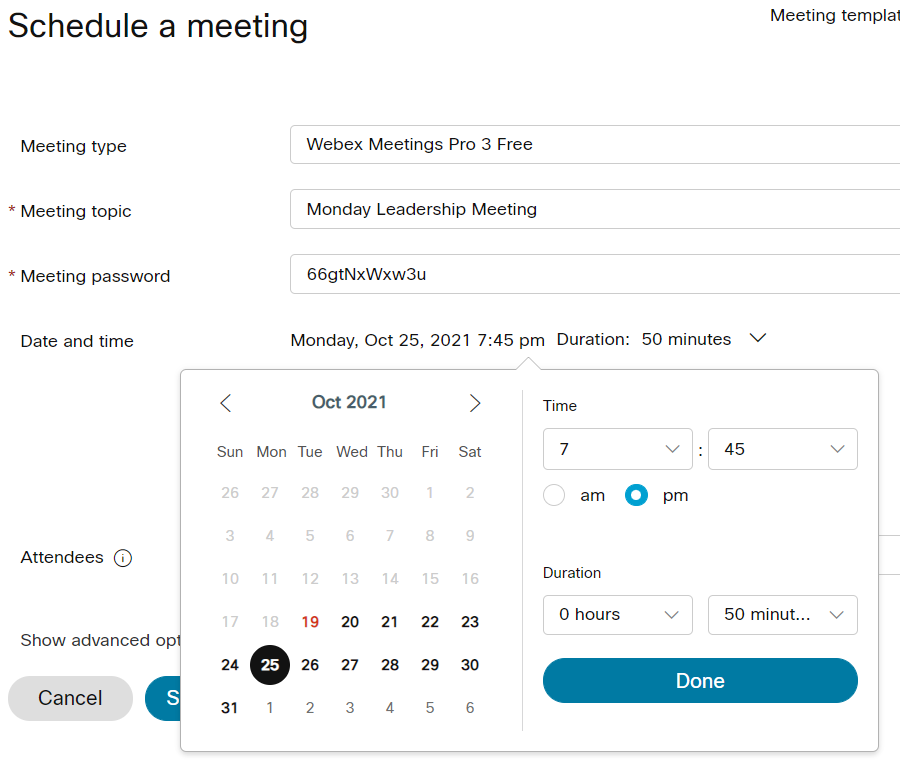
To set the meeting day and time, click the Date and time drop-down box.
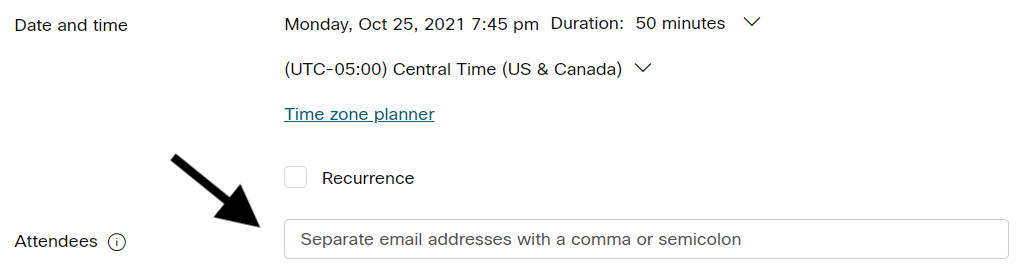
Then, you’ll enter the email addresses of the individuals you’re inviting in the Attendees box. Make sure to separate each email address with a comma or semicolon.
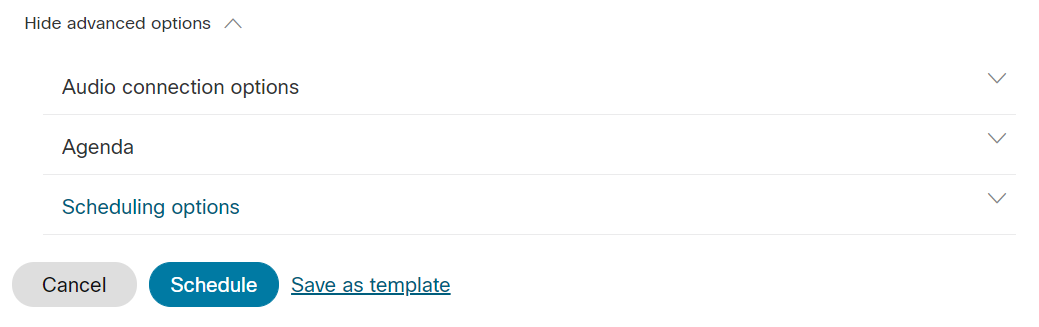
If you’d like to customize your meeting further, select the show advanced options text. This lets you do the following:
- Customize your audio connection options
- Add a meeting agenda
- Setting up additional scheduling options such as excluding a meeting password, allowing for breakout sessions, and more.
When you’re ready, click the blue Schedule button to finish scheduling your meeting.
How to schedule a Webex meeting on your smartphone
To schedule a Webex meeting on your iPhone or Android device, you’ll need to install the Webex app.
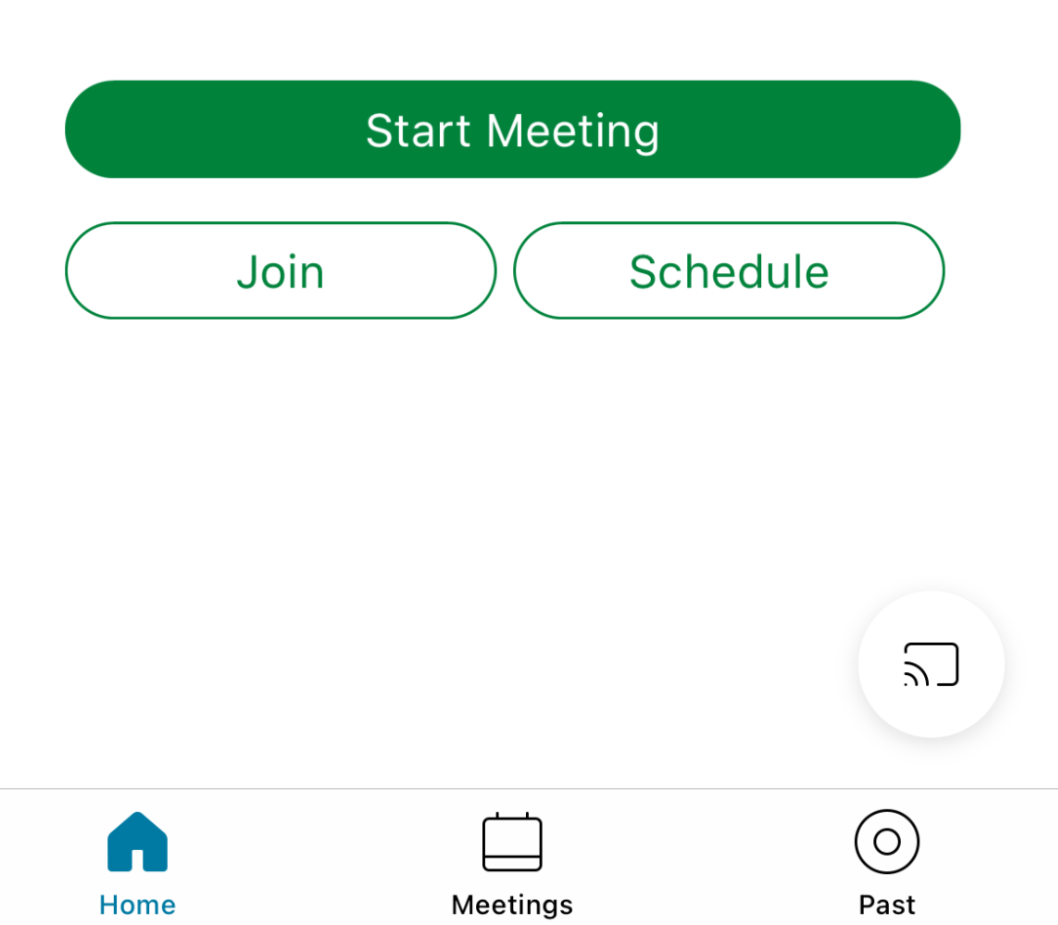
Once you download and log into the app. Click on the Schedule button.
Then, you can add your meeting details on the Schedule page, including meeting name, duration, date and time, etc.
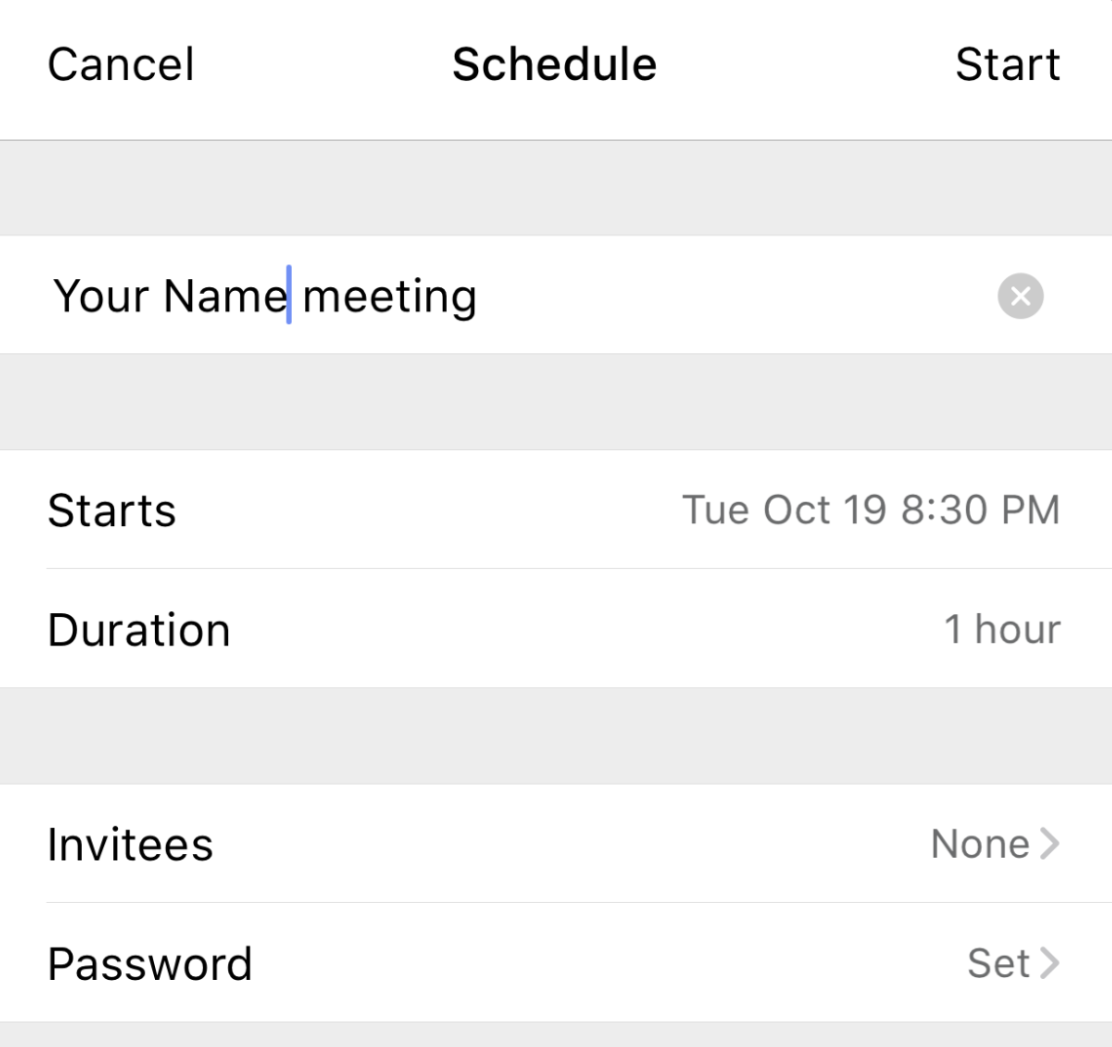
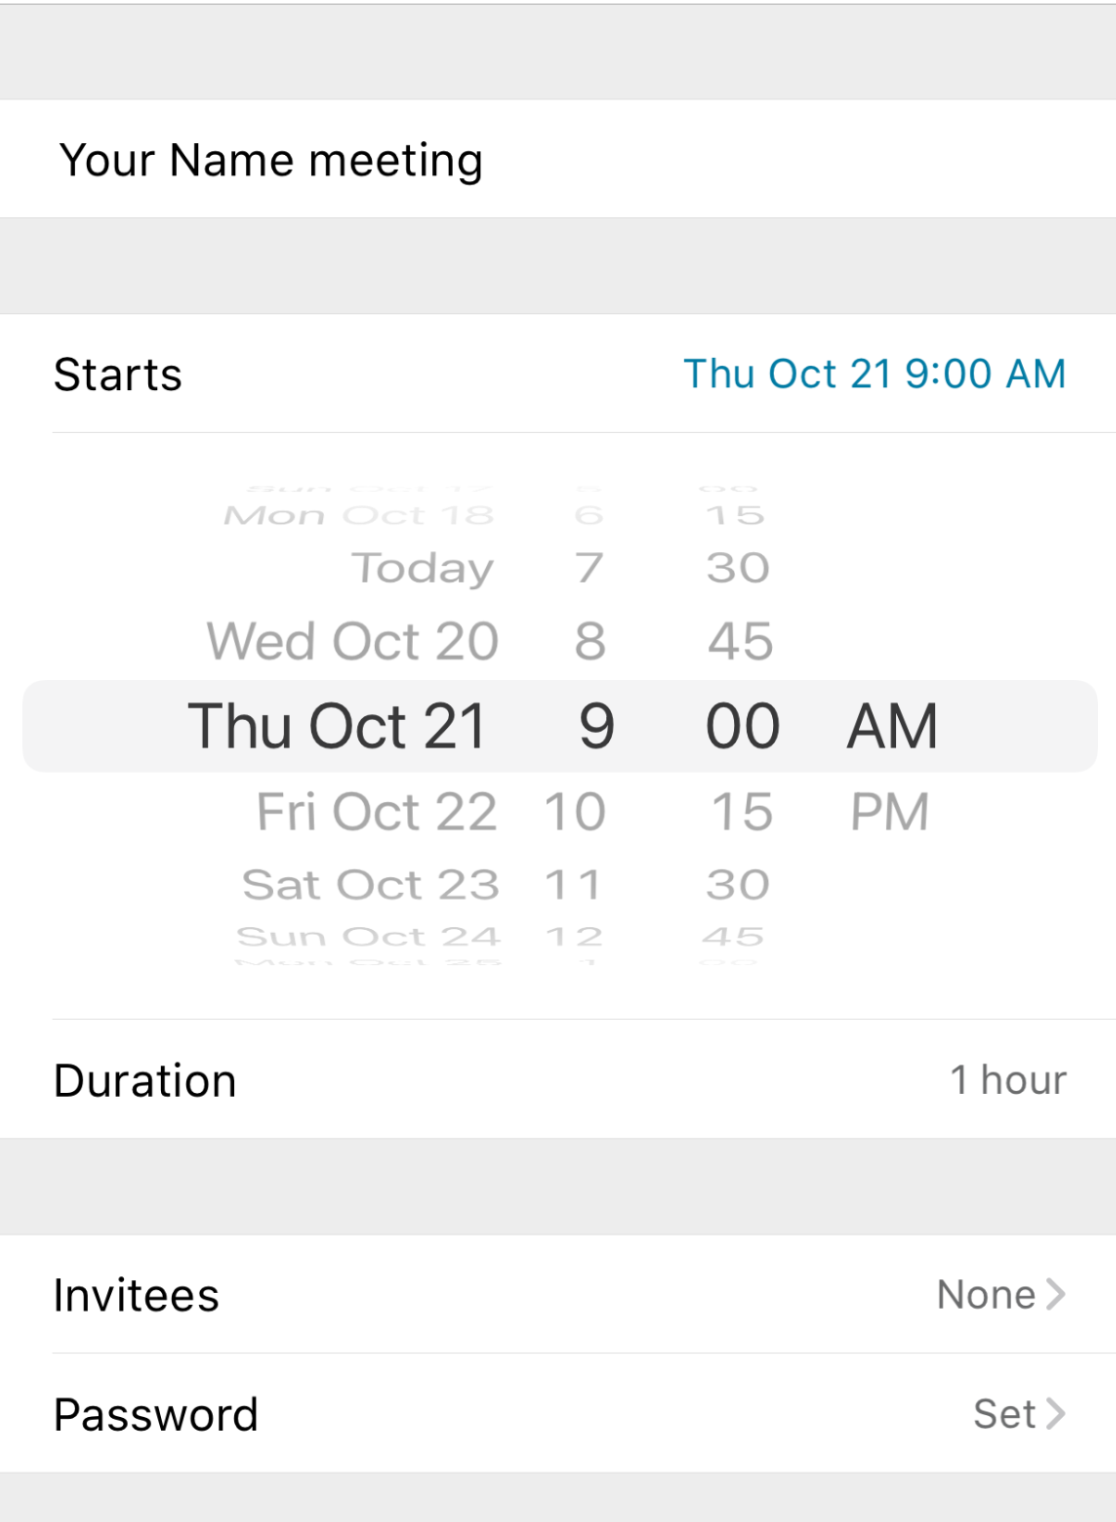
Note: To adjust the meeting day and time, click on Starts.
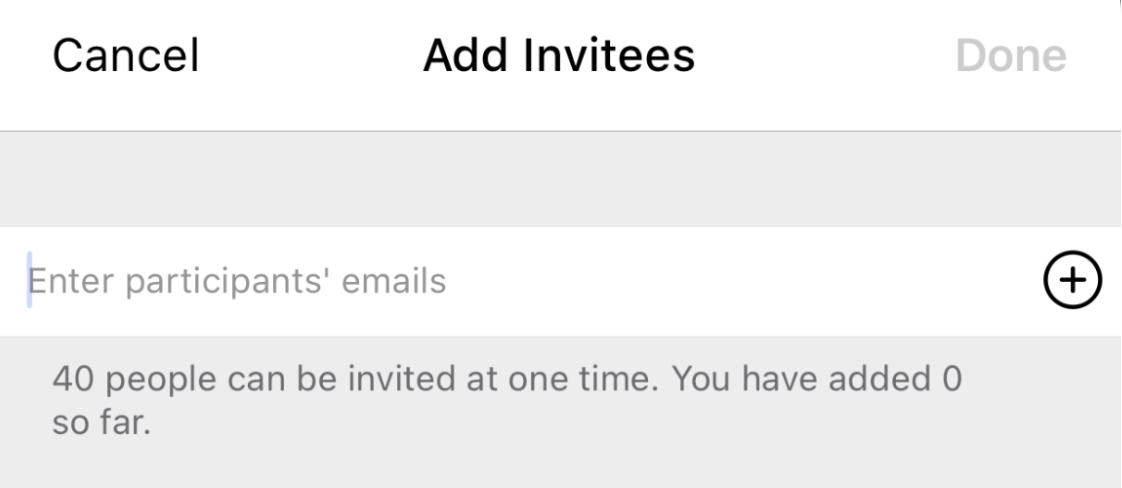
To add participants, click on invitees. Then, a new screen will appear called Add Invitees. Enter the email address(es) for all of your meeting participants.
You also can add people from your Contacts by clicking the plus sign.
There is a limit of 40 invited participants through the mobile app.
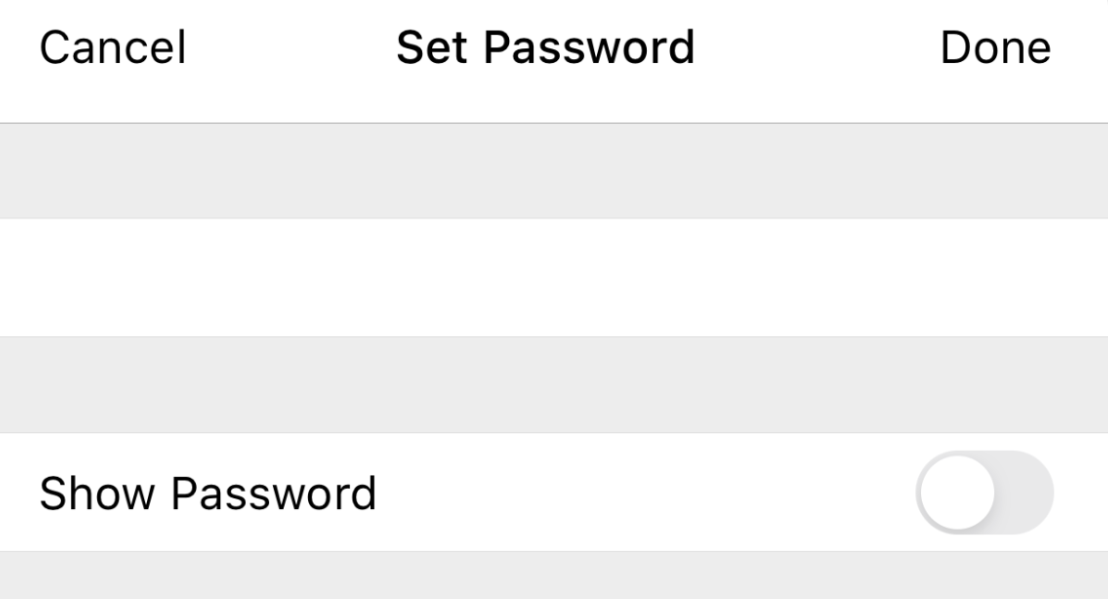
Then, Webex will auto-generate a password for you.
To change it, click the Password section. A new screen called Set Password will appear. You can change the password in the first box (where you see the dots). You can also show the password by sliding the Show Password slider.
Now, click Schedule in the top right corner to schedule your meeting.
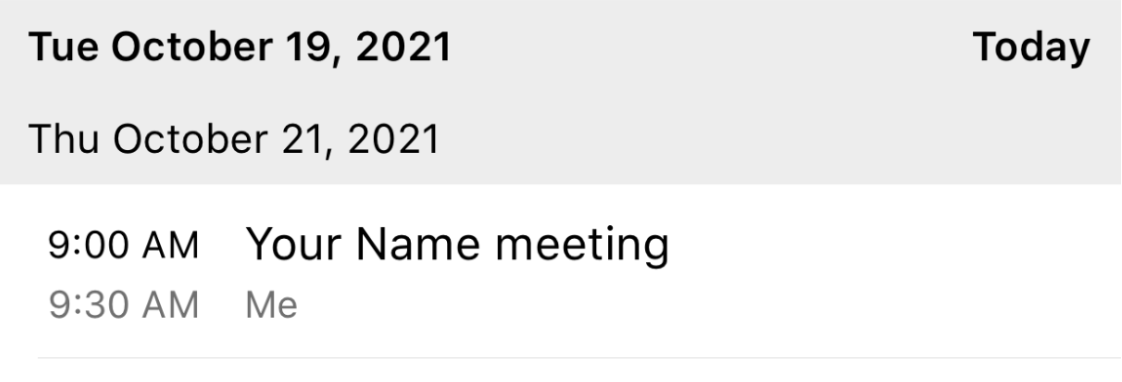
Finally, you’ll be taken automatically to a screen that shows your upcoming meetings.
Scheduling Webex meetings made easy
In sum, you can schedule Webex meetings through your browser, desktop app, or on your smartphone.
Table of Contents
Join thousands of happy customers
SavvyCal is a best-in-class scheduling tool both you and your recipients will love
Get started