How To Share Your Outlook Calendar

Sharing your Outlook calendar can improve communication and boost productivity for yourself and your entire team.
Shared calendars work great for keeping track of important project deadlines and which employees are on vacation, since it shows up right in your calendar—no need to log into another app or project management software to see this.
However, there are definitely Dos and Don’ts when it comes to how to share your calendar, who to share it with, and what permission level to enable.
In this post, we’re walking through everything you need to know when it comes to sharing your Outlook calendar.
- When to share your Outlook calendar
- How to share your Outlook calendar from your desktop
- How to share your Outlook calendar from your Outlook email
- How to share your Outlook calendar from your iPhone or Android phone
- How to automate the process with SavvyCal
When to share your Outlook calendar
In the vast majority of cases, sharing your Outlook calendar has more benefits than downsides. However, you want to pay attention to both your default permission settings and calendar sharing permissions to make sure that you’re sharing your calendar only with the people who actually need it.
For example, if you work in a large corporation with 20,000+ employees across multiple countries, you don’t need to share your calendar with full permissions to everyone in the company. You probably only need to share your calendar with your direct team, or maybe everyone in your department.
That’s an extreme example. However, you also want to think about what you want your colleagues to see when you share your calendar.
- Do they just need to see when you are busy?
- Do you want to see who you are meeting with and what you are doing?
- Do you want them to be able to add and modify your calendar at will?
If you are like most employees, you probably add the occasional personal appointment(s) on your work calendar. For example, your boss’s boss might need to see when you are free to book a meeting, but they don’t necessarily need to see that you use your lunch break every Tuesday to see your therapist. So, you can set the permission settings for your boss’s boss to display as “busy time” or “private appointment” instead.
However, your virtual assistant might need those additional permission settings so they can manage your meeting requests, calendar appointments, and all of your calendar settings.
Getting clear upfront about who needs access to your calendar and what level of permissions they should have can make you more productive, a better communicator, and avoid unnecessarily over-sharing.
How to share your Outlook calendar from your desktop
The easiest way to share your Outlook calendar with your team is through the Outlook desktop app or in your web browser.
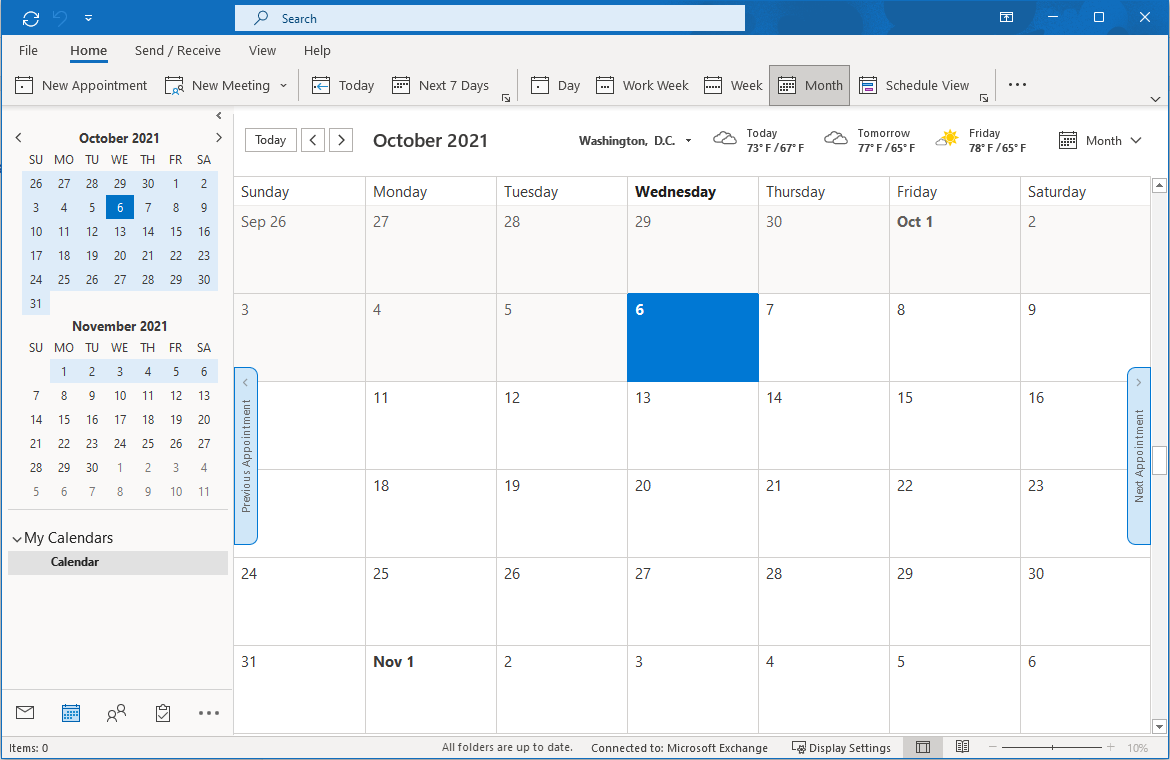
You can open Outlook from the taskbar at the bottom of your computer screen, the Start menu, or the desktop app. Then, select the Calendar icon at the bottom left of the Outlook screen.
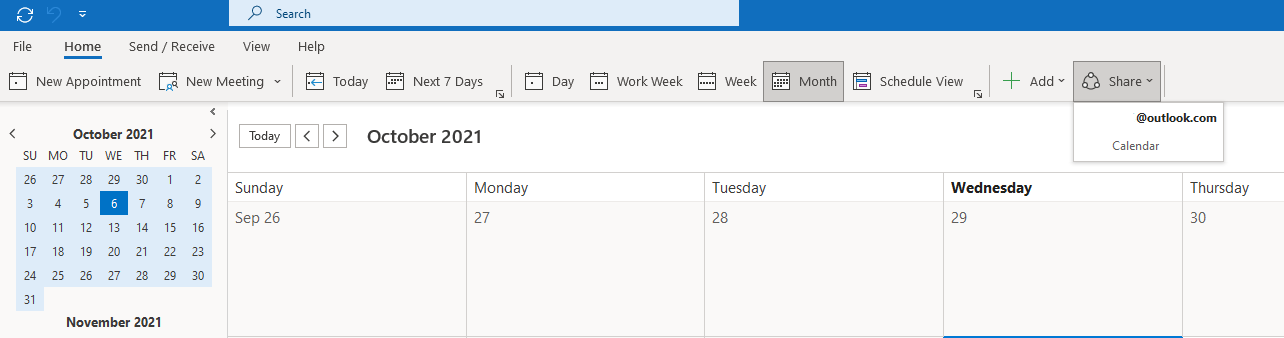
Click the Share dropdown option located at the top right of the menu at the top of the calendar screen. You’ll be able to select the calendar you want to share.
Then, a Calendar Properties box will pop up. Click the Add button.
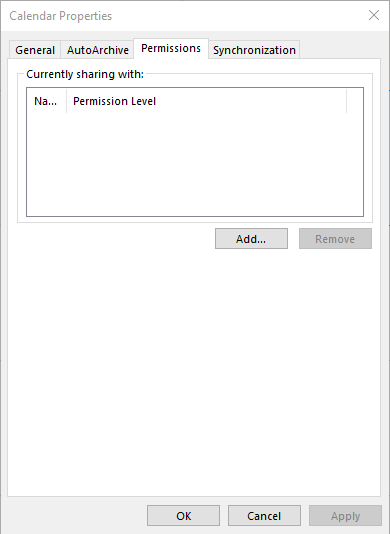
This is where you can set your user permission levels to avoid any TMI moments. The four user permissions you can choose between are:
- Can view when you are busy
- Can view titles and locations
- Can view all details
- Can read and respond to mail as well (i.e. delegate access to your Outlook inbox and calendar)
You can also add and select which users can view your calendar. Once you finish adding users and updating your calendar permissions, you’ll be returned to the Calendar Properties box. You’ll see the names and email addresses of the people you selected.
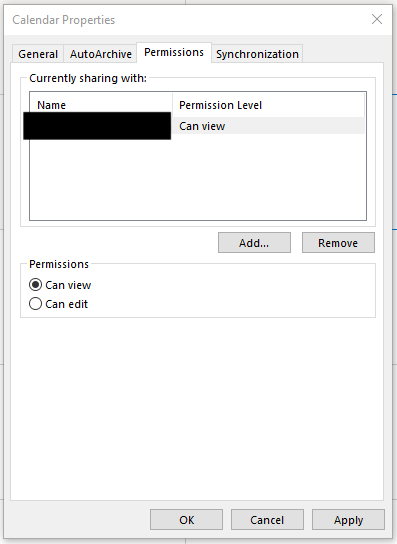
All of the people you have selected will now receive an email informing them you have shared your calendar. Once they accept the calendar invitation, they’ll see your shared calendar in their calendar list.
How to share your Outlook calendar from your Outlook email
You can also share your Outlook calendar directly from your Office 365 inbox.
To do this, you’ll need to create a new email.
Then, click the three dots (…) at the far left of the menu and select Calendar.
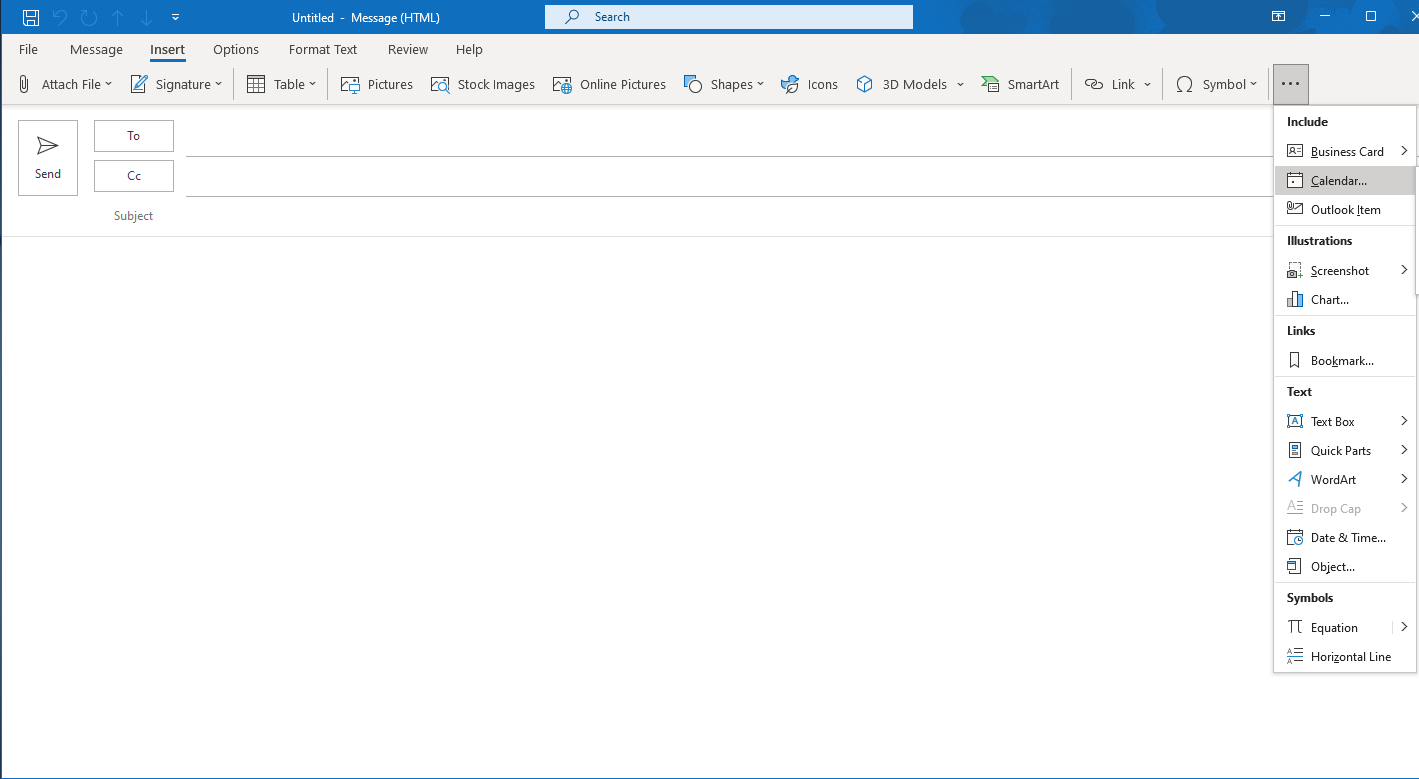
Pro Tip: The person receiving the email will see your calendar information even if they do not use Outlook Calendar.
Then, a new window will appear called, Send a Calendar via Email. You can select the calendar you want to share, the date range, and the availability details you want to share.
You can also select the checkbox if you want to only show time within your working hours on the calendar.
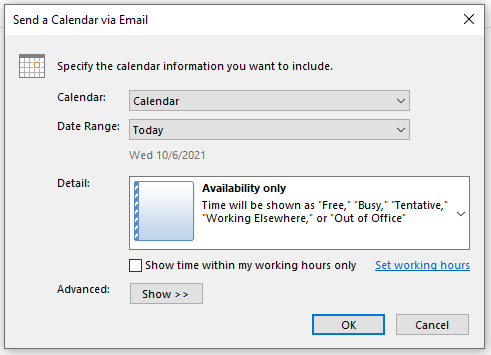
You can customize your permission settings further by clicking Show Advanced. This will allow you to include details of items marked as private or include attachments within the calendar items.
You can also choose the email layout between Daily Schedule or List of Events.
Once you’ve selected the information you want to send, click the OK button.

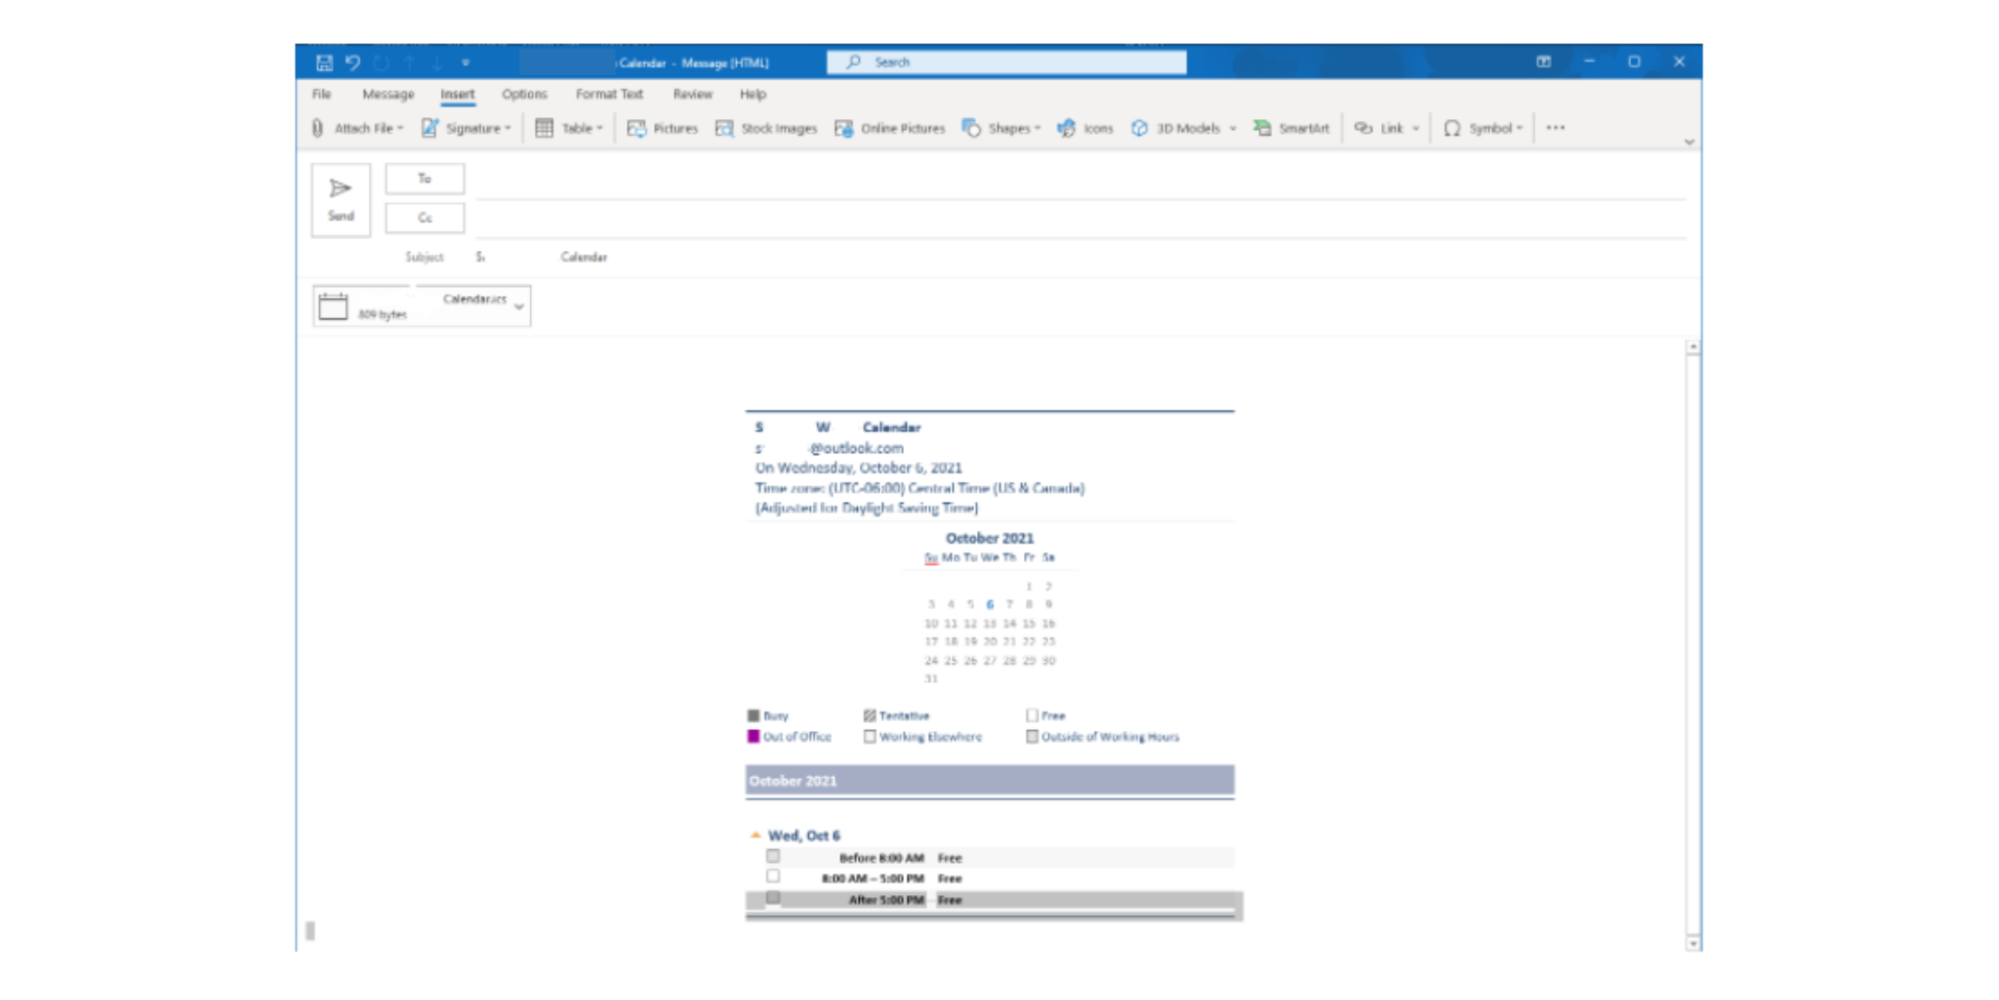
Then, you can add a message to the body of your email.
How to share your Outlook calendar from your iPhone or Android phone
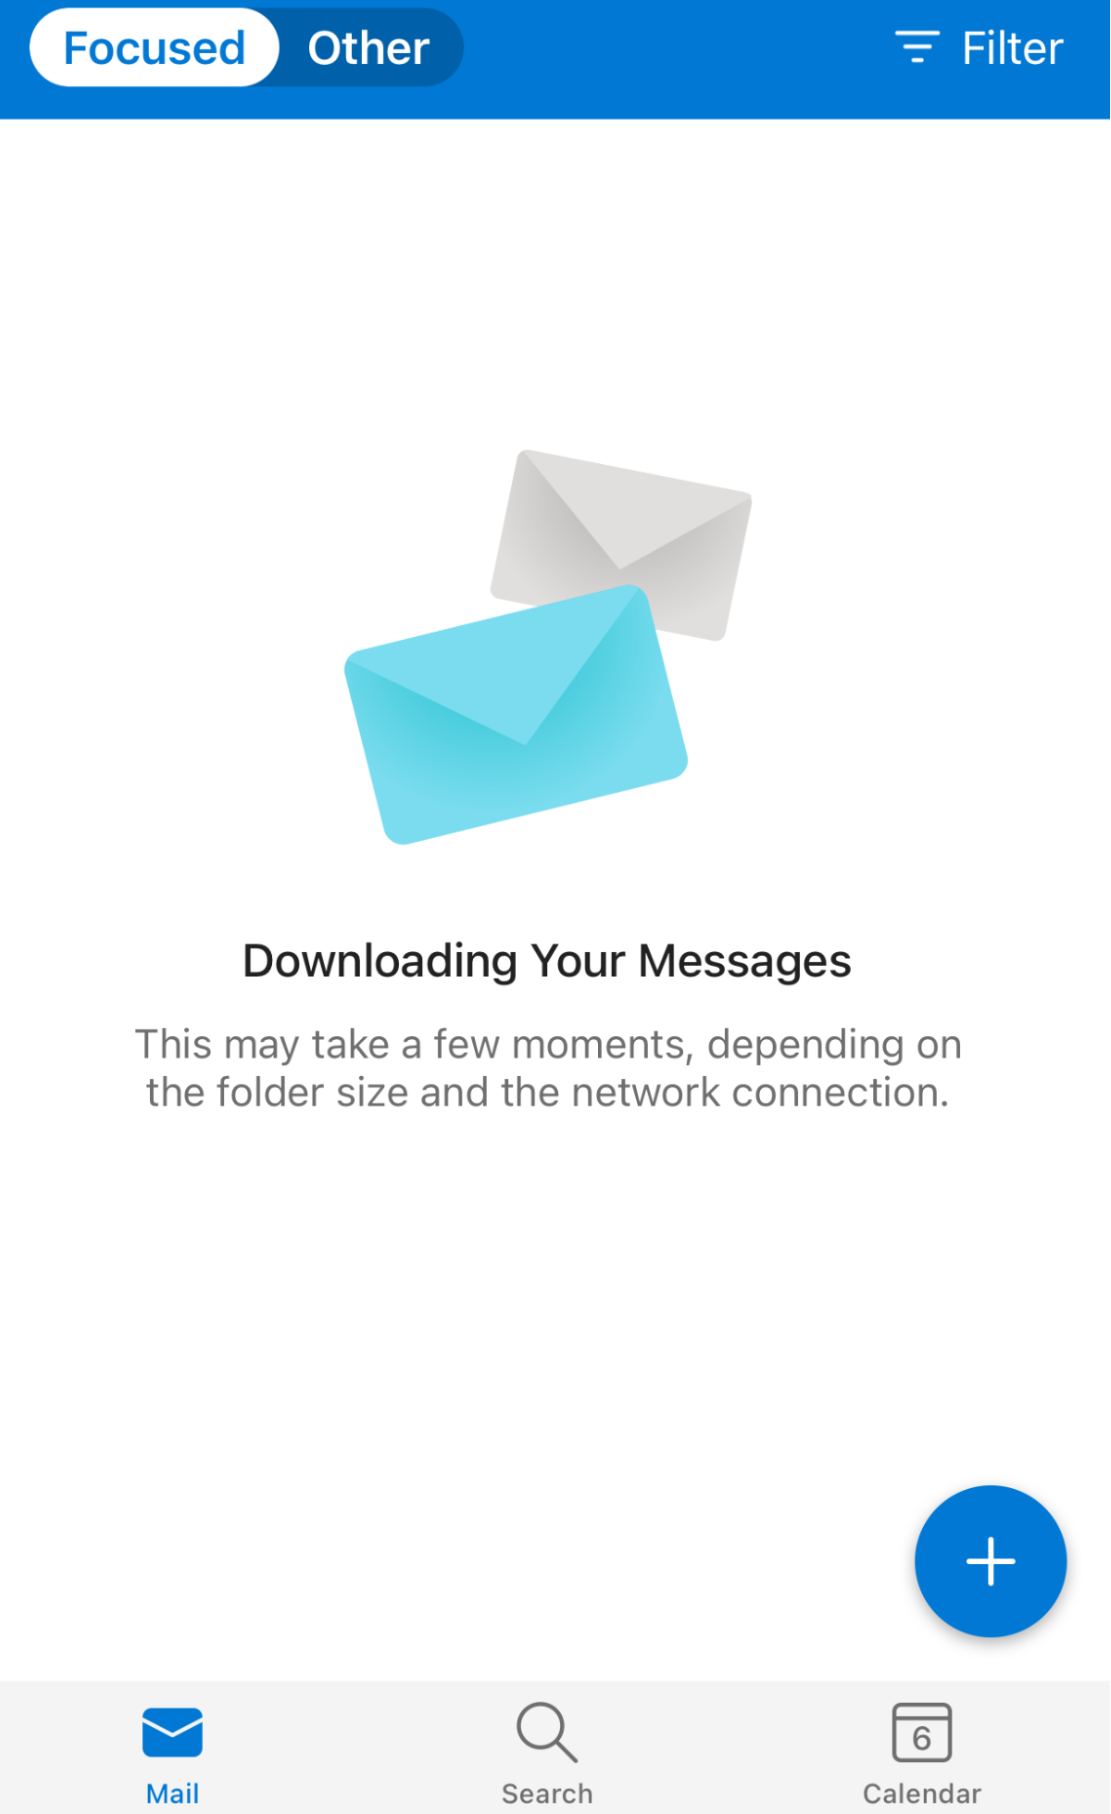
You can also share your calendar via the Outlook email iOS and Android apps.
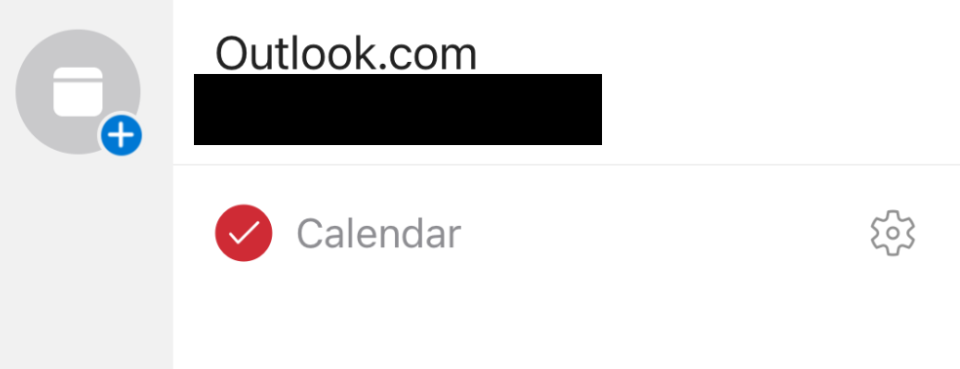
To start, click the Calendar icon in the lower right corner of your screen to go to your calendar screen. Note: The icon is in blue when it’s active.
Then, click on the pink circle and then the gear icon on the top left of your screen beside the month.
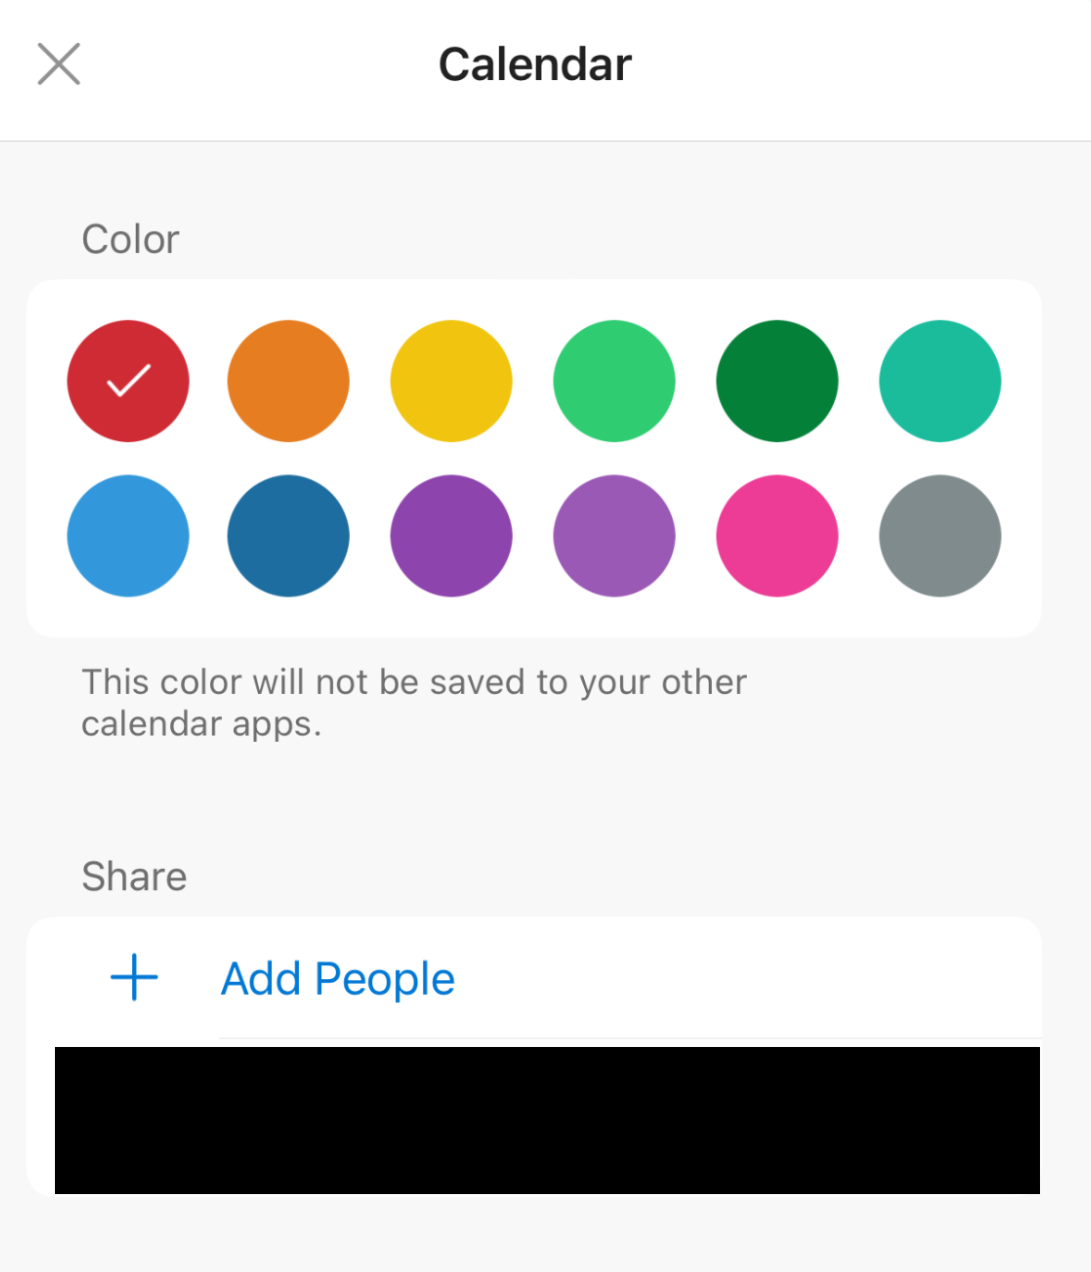
Under the Share section, you can add all of the people you want to share your calendar with.
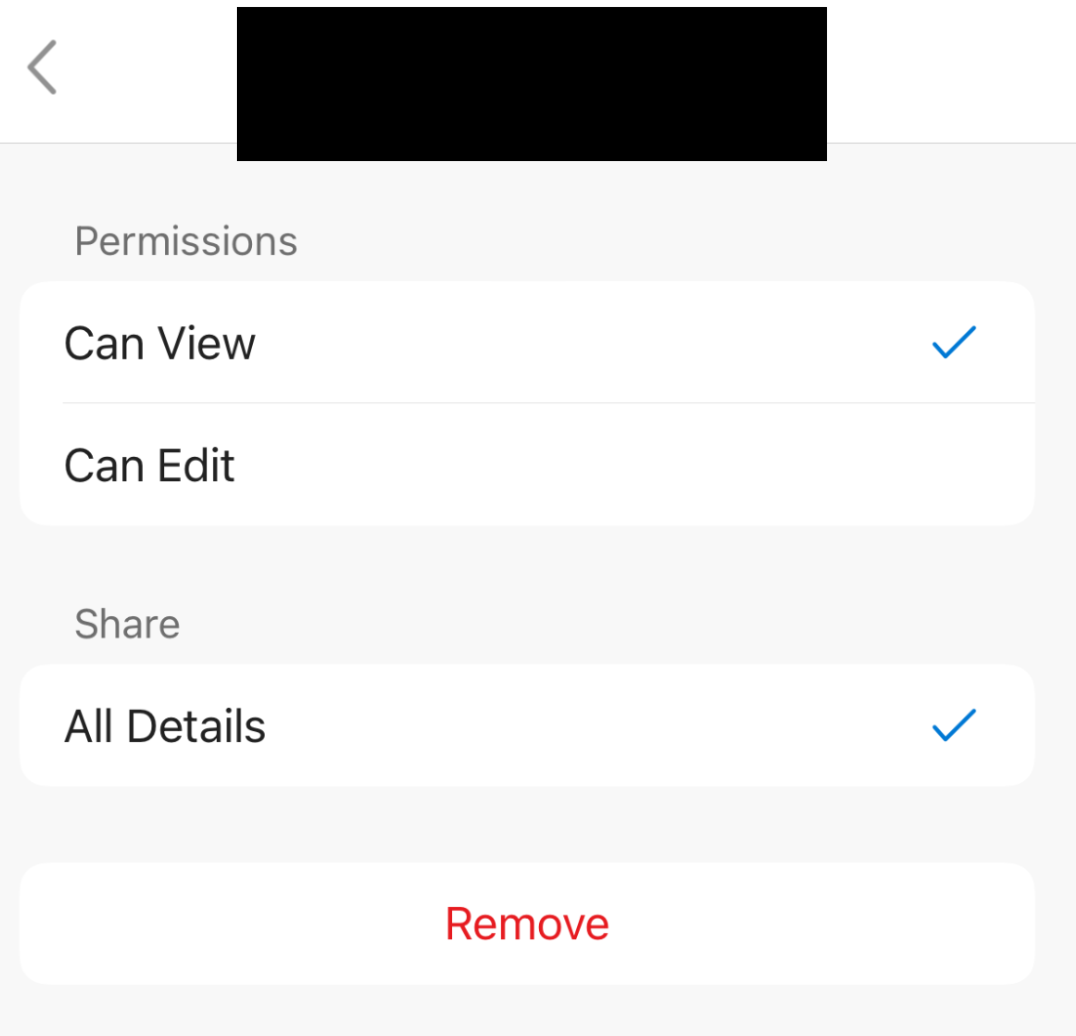
Next, you’ll see a Share Calendar screen. To change the permissions of the person viewing your calendar, click the person’s name or email.
How to automate the process with SavvyCal
Sharing your Outlook calendar is relatively simple, especially if you only need to do this infrequently.
However, if you have multiple Outlook, Google, and iCloud calendars that you need to sync or you need to share your calendar with people outside of your organization, this process becomes a lot more tedious.
That’s where using scheduling software, like SavvyCal, can come in handy.
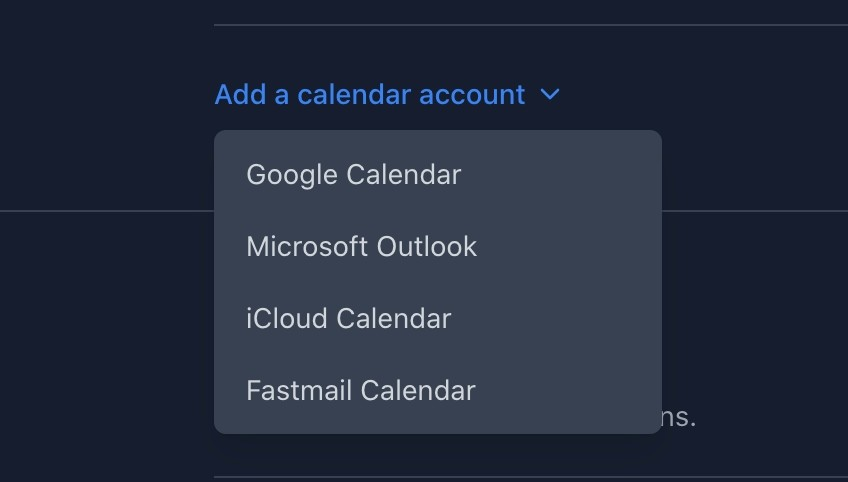
For example, adding a new Outlook Calendar to SavvyCal is simple and only takes a couple of minutes.
Then, you can create new scheduling links whenever you need them (including personalized ones in seconds) and configure your availability.
For example, you can add 3 suggested times directly in your email in addition to sharing your calendar link.

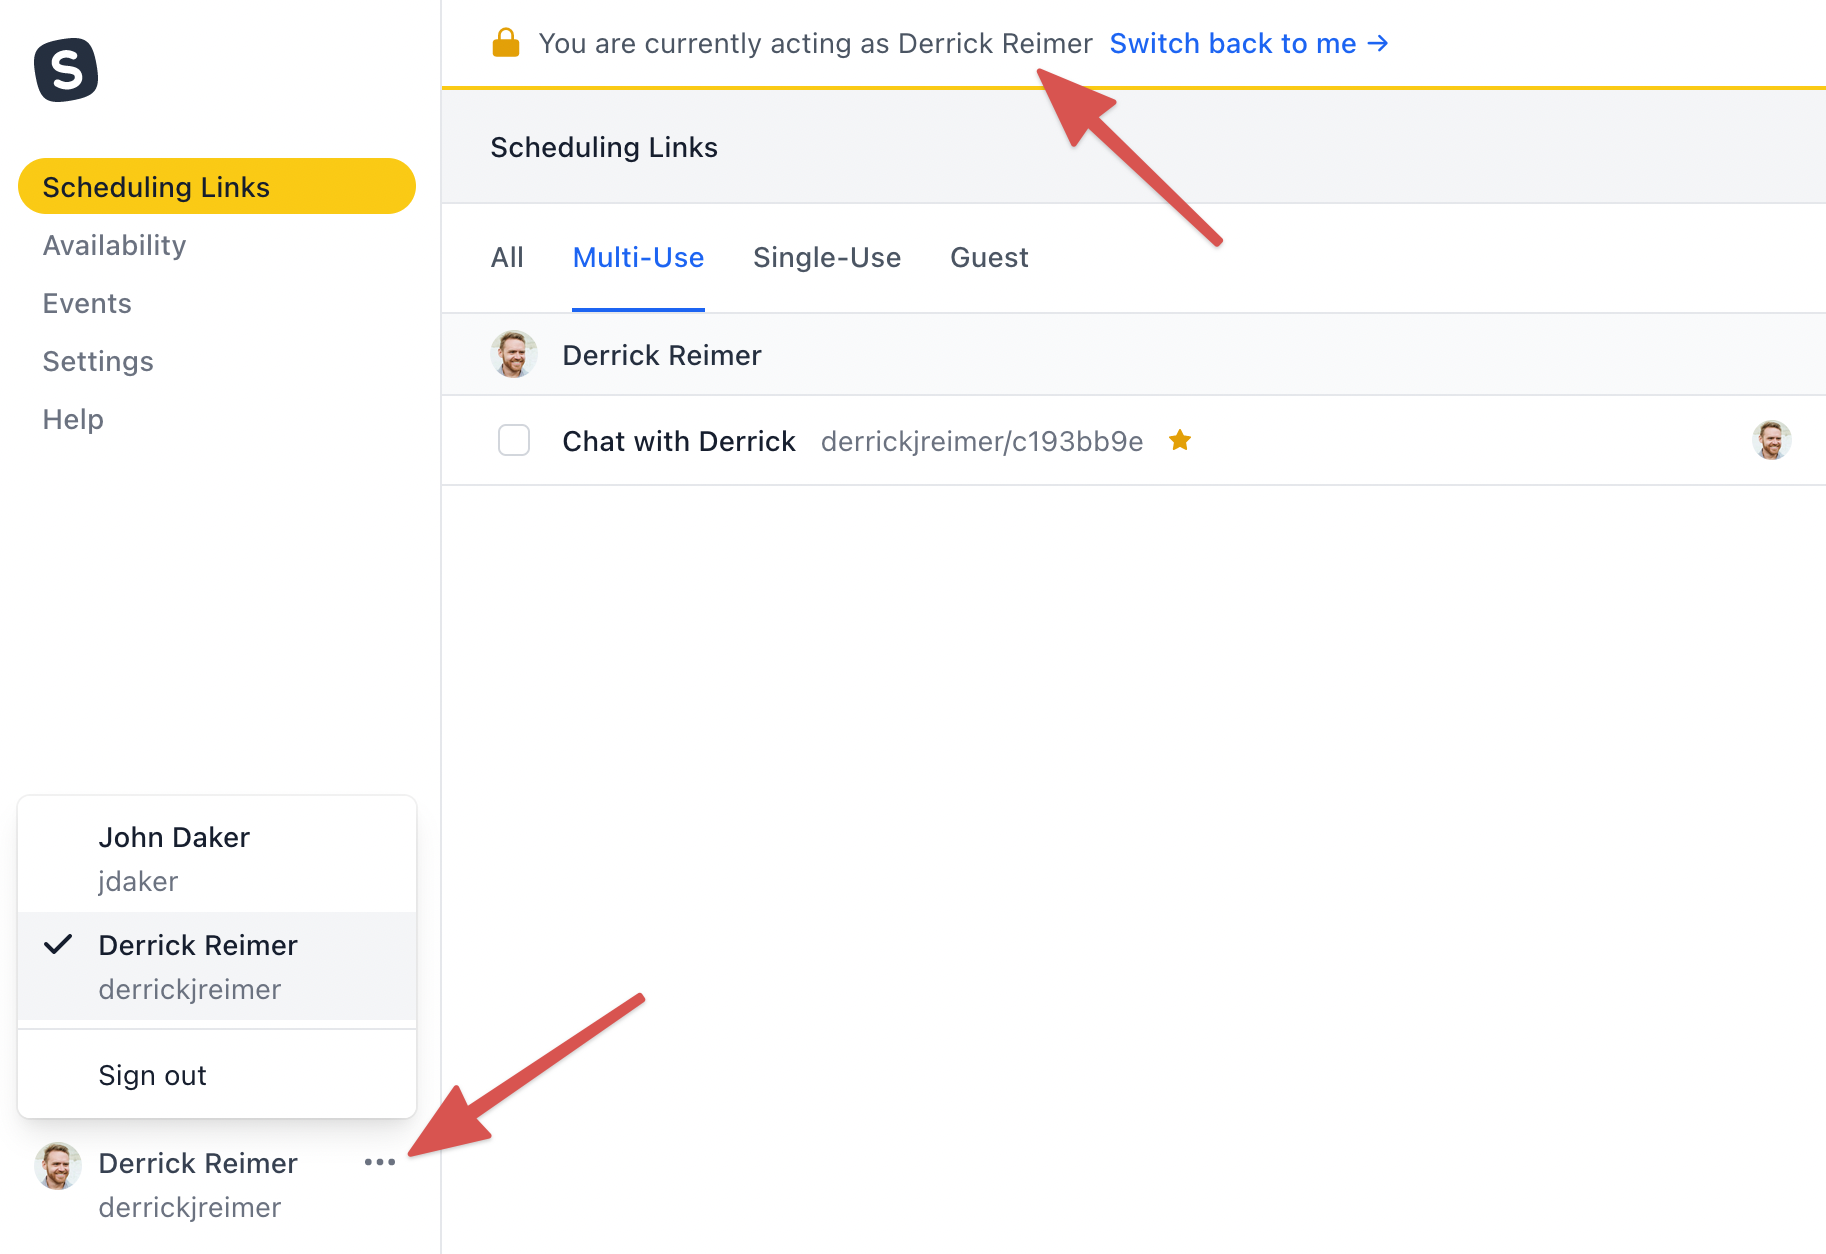
And, if you want to delegate your calendar management altogether, SavvyCal’s premium plan allows you to designate a user to manage your availability, scheduling links, account settings, etc.
Sharing your Outlook calendar made easy
In sum, sharing your Outlook calendar doesn’t need to be a tedious process.
If you are looking to simplify the process of scheduling and managing all of your calendars, start your free trial of SavvyCal.
Table of Contents
Join thousands of happy customers
SavvyCal is a best-in-class scheduling tool both you and your recipients will love
Get started